Filebeat OSS (Open Source Software) 7.10.2 版本是 Elastic 公司提供的开源版本。移除了一些Elasticsearch商业化的功能插件(但是没移出去干净)
https://www.elastic.co/cn/downloads/past-releases/filebeat-oss-7-10-2。
这主要还是 AWS 和 Elastic 公司之间的矛盾,AWS 托管的 ES 会和 Elastic 抢客户。所以 Elastic 搞了一个不能商业化的协议,影响了这个生态圈,也给开发者造成了很多不方便。
还记得这个非常戏剧性的 Issue: 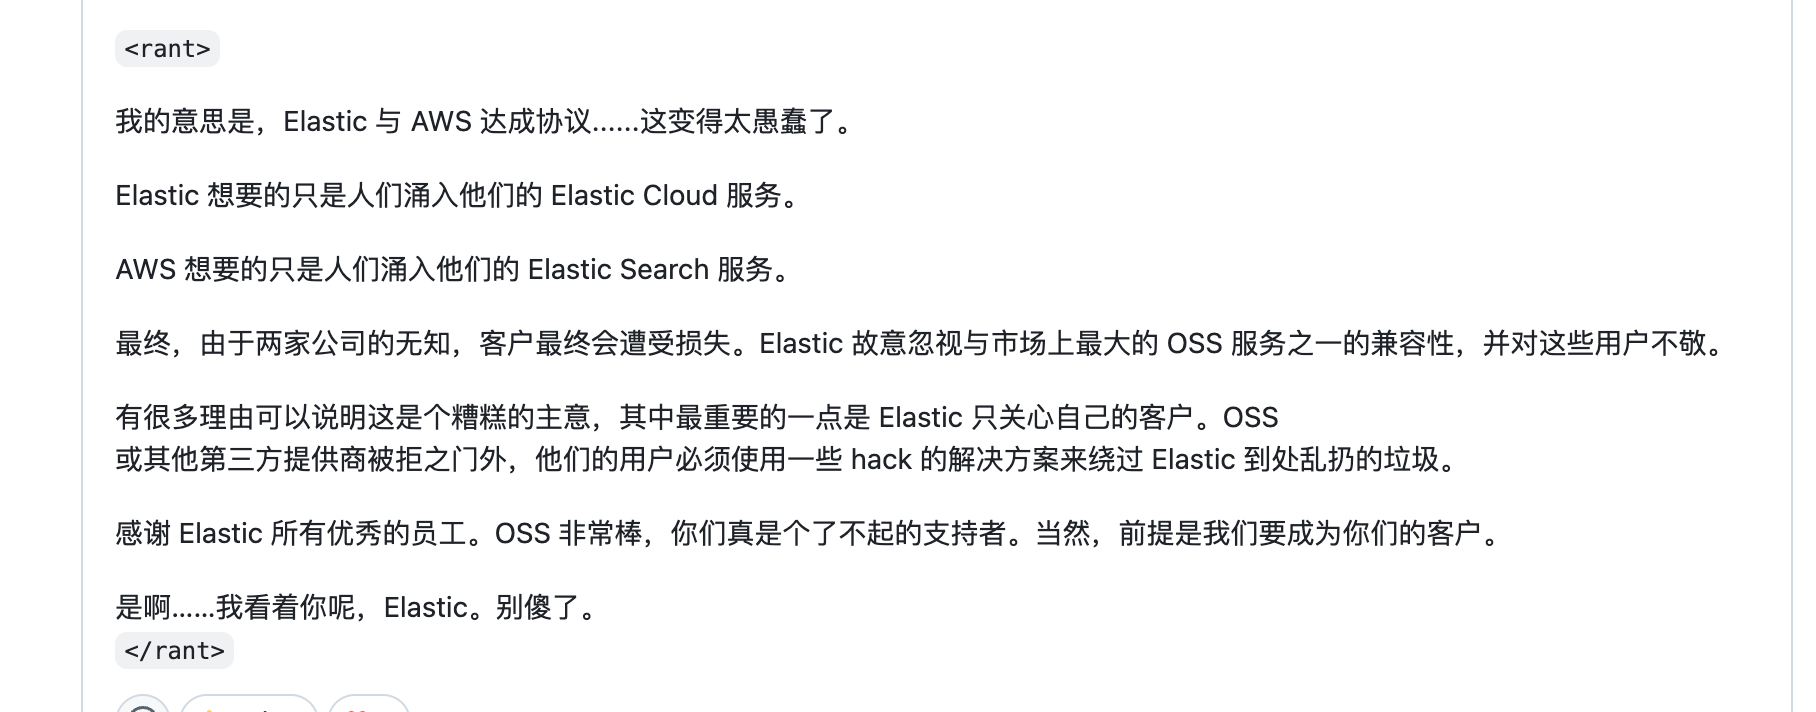
https://github.com/elastic/beats/issues/8086
下面将介绍如何配置该版本 Filebeat 将日志发送到 Easysearch。
以下是完整的filebeat.yml配置示例:
yaml
filebeat.inputs:
  - type: log
    enabled: true
    paths:
      - /var/log/messages
      - /var/log/httpd/*.log

output.elasticsearch:
  hosts: ["yourEasysearchEndpoint:443"]
  protocol: "https"
  username: "username"
  password: "password"
  ssl.verification_mode: none

# 以下配置用于处理xpack相关兼容性问题
setup.template.name: "filebeat"
setup.template.pattern: "filebeat-*"
setup.template.enabled: true
setup.ilm.enabled: false
setup.template 和 setup.ilm 相关的操作就是和没移除干净的 xpack 有关系,所以得再配置文件加上这些东西。
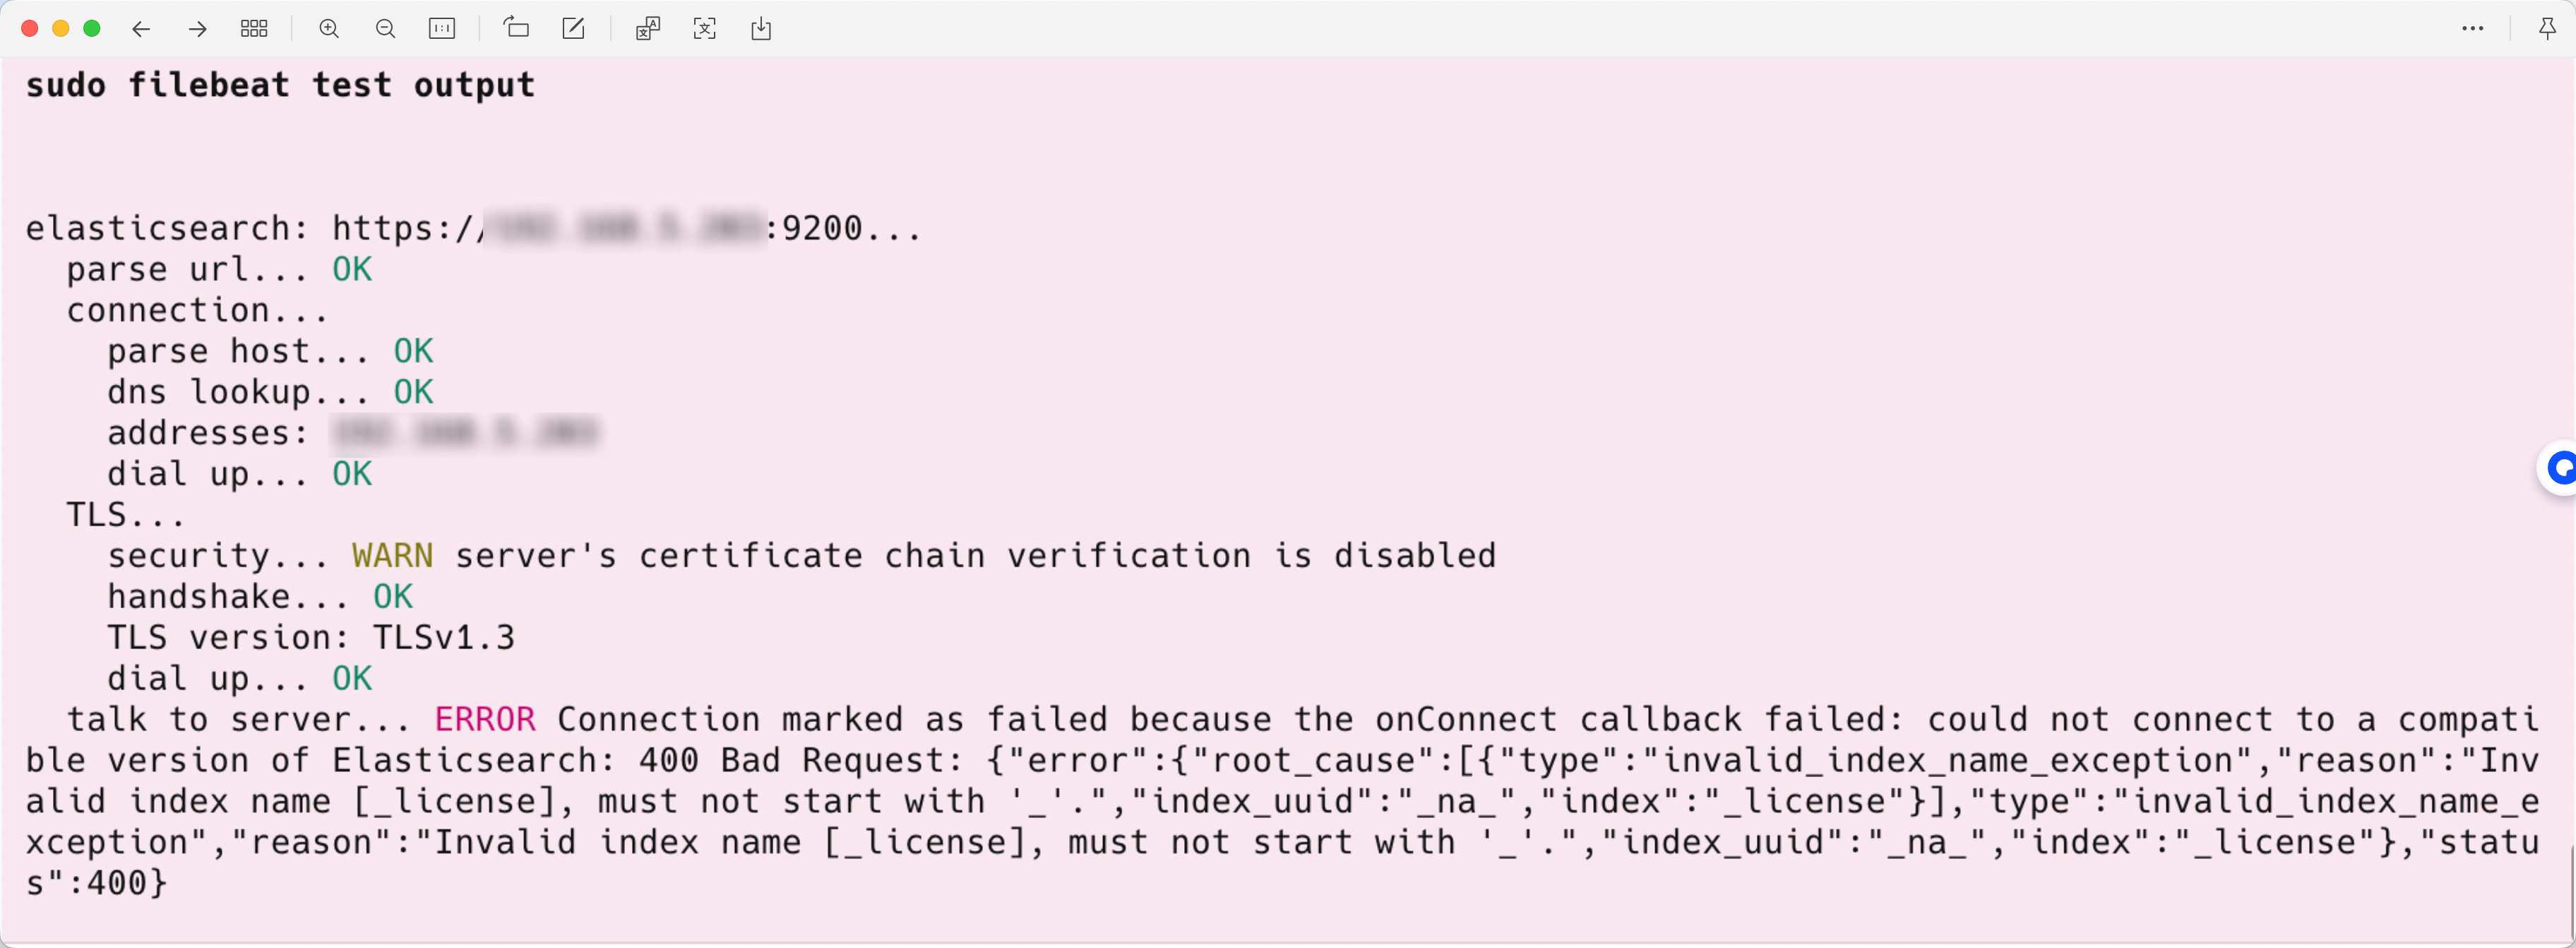
同时也得在 Easysearch 里面开启兼容 ES 的 API,不然会遇到这个报错。
在我的 MBP 上是这样:(config/easysearch.yml)
yml
discovery.type: single-node
network.host: 0.0.0.0
elasticsearch.api_compatibility: true- 启动并测试 Filebeat:
bash
sudo systemctl start filebeat
sudo filebeat test output- 检查服务状态:
bash
sudo systemctl status filebeat- 生成测试日志:
bash
echo "test log $(date)" | sudo tee -a /var/log/messages- 在 Easysearch 中查询日志: 使用 Dev Tools 执行以下查询:
json
GET filebeat-*/_search
{
  "query": {
    "match_all": {}
  },
  "sort": [
    {
      "@timestamp": {
        "order": "desc"
      }
    }
  ]
}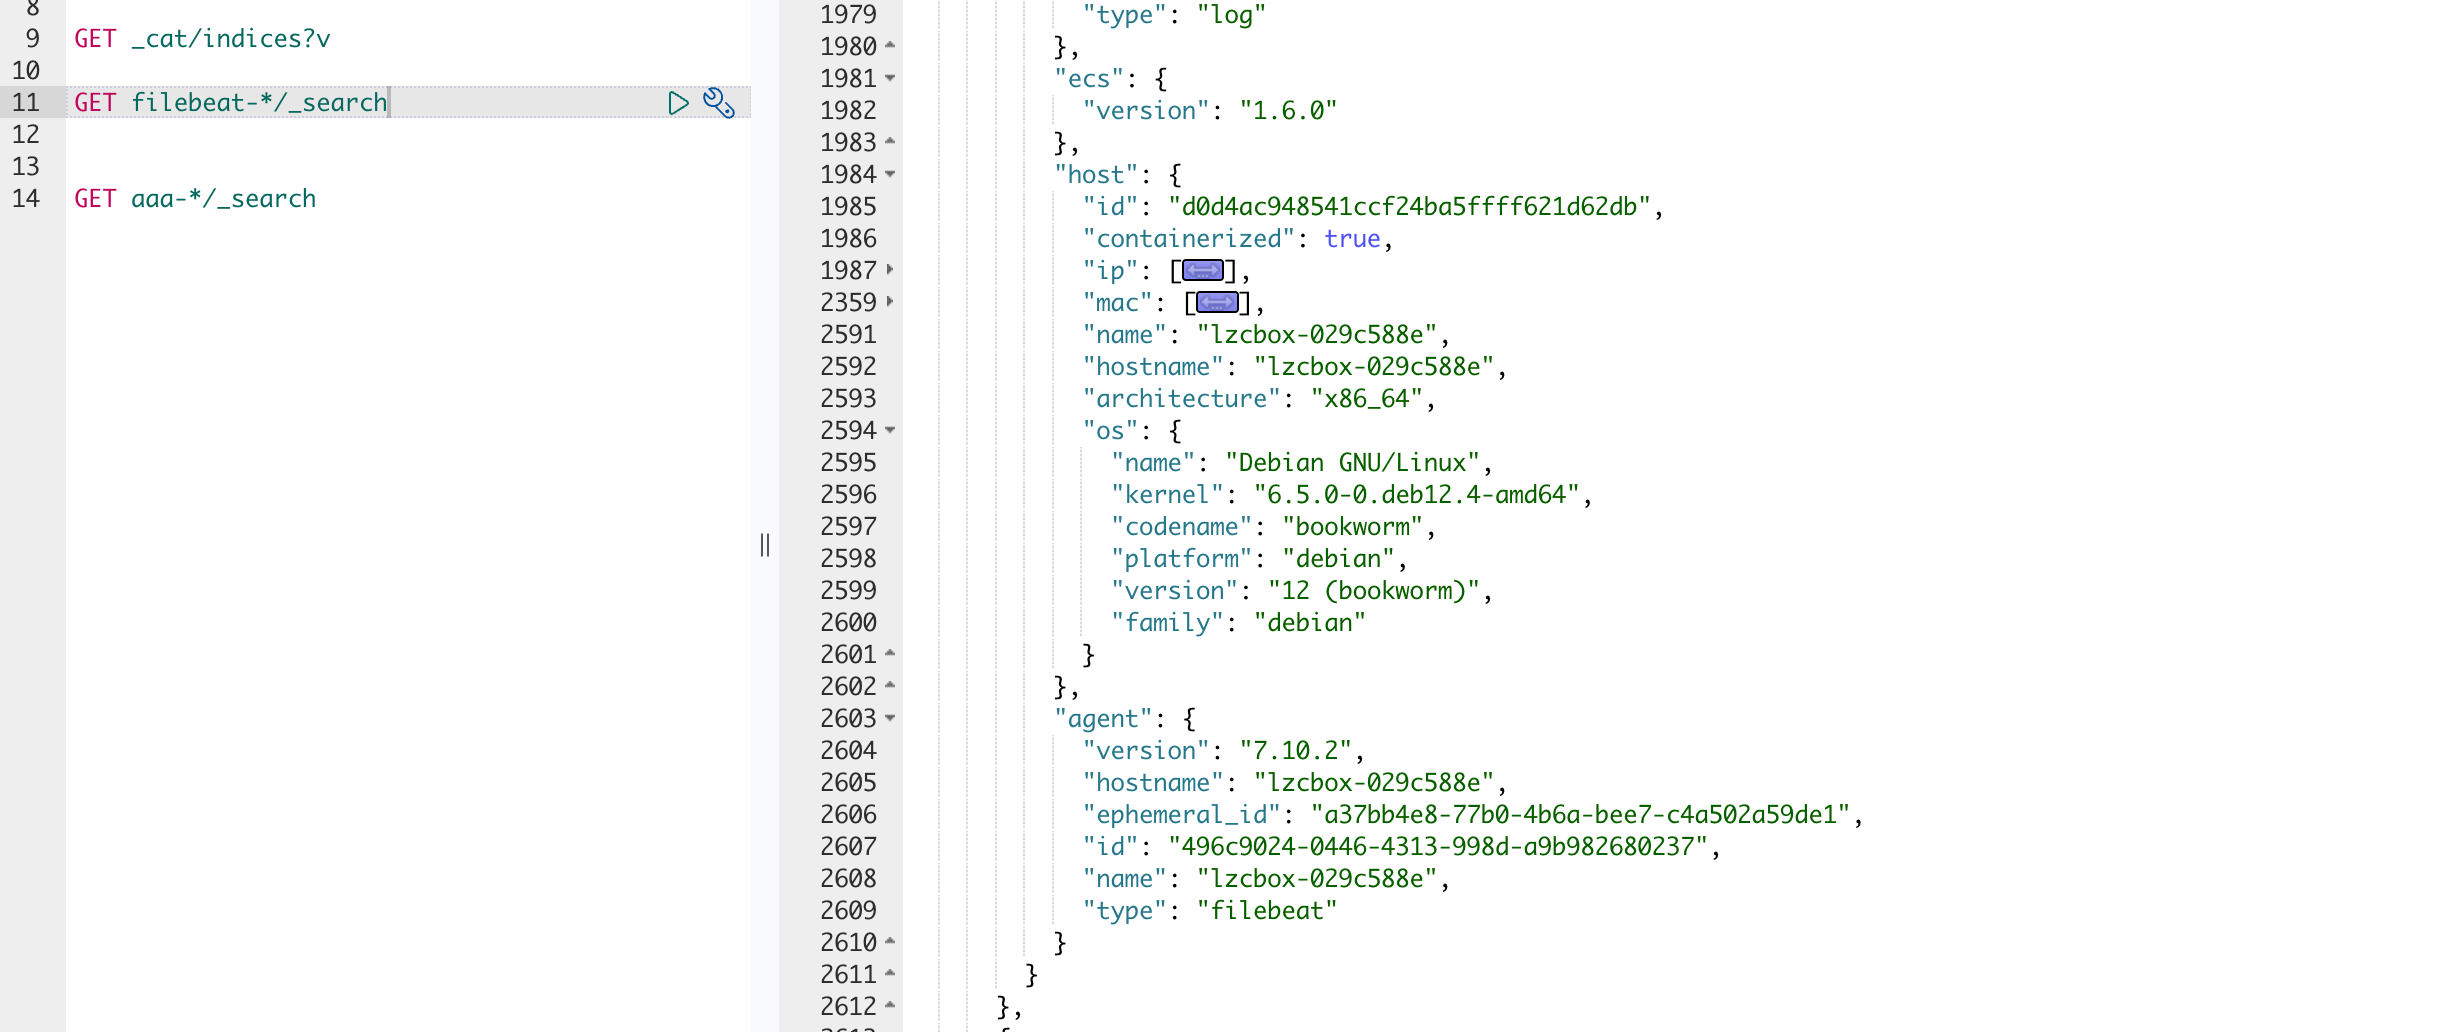
成功响应示例如下:
json
{
  "took": 5,
  "timed_out": false,
  "_shards": {
    "total": 5,
    "successful": 5,
    "skipped": 0,
    "failed": 0
  },
  "hits": {
    "total": {
      "value": 1,
      "relation": "eq"
    },
    "max_score": null,
    "hits": [
      {
        "_index": "filebeat-7.10.2-2025.04.18",
        "_id": "XXXXXXX",
        "_score": null,
        "_source": {
          "@timestamp": "2025-04-29T09:04:09.566Z",
          "log": {
            "file": {
              "path": "/var/log/messages"
            },
            "offset": 0
          },
          "message": "test log Fri Apr 29 09:04:00 UTC 2025",
          "input": {
            "type": "log"
          },
          "ecs": {
            "version": "1.6.0"
          }
        }
      }
    ]
  }
}
曾经在 ubuntu 上遇到过只要启动 filebeat 就报错一堆内存的信息:

这个文章给了一个解决办法:
https://infinilabs.cn/blog/2025/ubuntu_run_filebeat/通过以上配置和步骤,您应该能够成功使用Filebeat OSS 7.10.2 版本将日志收集到 Easysearch 中。